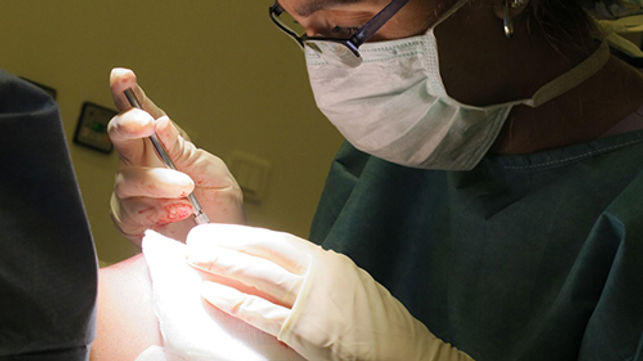
FUE Technique Step By Step
We invite you to know the 8 fast, painless and efficient steps of the FUE hair transplant technique. Here we go:
1. Pictures
Medical photographs are taken in pre-defined positions and with a standard background, for documentation and postoperative analysis of the results. Each patient has a collection of photographs with all the steps of his or her treatment. These pictures are taken by the medical team with a special camera.
The images bellow illustrates the main positions for the photographs taken before and after the FUE hair transplant.


2. Donor and recipient areas markings
The Physician makes the markings in the donor and recipient areas.
The recipient area is defined with the hair in normal length.
The donor area may be partially or totally shaved.


3. Extraction of the follicular units from the donor area
After preparing the donor area (back and/or lateral part of the scalp) local anesthesia is applied.
The donor area is the region that will donate the hairs to be transplanted to the bald recipient area.
As they do not posses the genetic code for baldness the hairs from the donor area do not have the tendency to fall.
The extraction is performed using millimetric surgical instruments named "punches."
They have sharp cylindrical edges and vary from 0.8 to 1.1 mm in diameter.
After being cut with the punch, the follicular units are extracted from the scalp with the aid of extremely fine forceps.
The number of follicular units vary from patient to patient, according to the density of the donor zone (number of hairs per follicular unit).
At the end of extraction we obtain a number of follicular units that, when multiplied by the number of hairs present in each follicular unit, yields the exact number of hairs transplanted.

4. Preparation of the follicular units
Immediately after their extraction, the follicular units are placed in a specific solution that ensures their vitality. A member of the team starts their preparation under the magnification of a stereoscopic microscope. The proper preparation and conservation of the follicular units are essential for the success of the transplant..


5. Storage of the follicular unitss
The appropriate preservation of the follicular units is essential for their survival during the period in which they are out of the body.
The follicular units must remain hydrated and in the ideal temperature during the whole process until the moment of implantation.

6. Lunch break
As the transplantation may last from 5 to 8 hours and being the patient under just a local anesthesia, a break is made between the end of the extraction phase and the beginning of implantation.
This short break averaging 30 minutes allows the patient to have a light meal.
The meal is served in the recovery room or in a dedicated area ensuring his or her privacy during the whole surgical procedure.
7. Implantation of the follicular units
In this phase of the procedure, anesthesia is applied to the recipient area and micro orifices are made where the follicular units will be later implanted.
The incisions are made with needles with a thickness of under 1 mm. The depth of incision is exactly the same as the follicular unit length, thus avoiding the lesion of the blood vessels present in the scalp.
The incisions define the future angle and growth direction of the hairs, which will be similar to the natural hairs present at the recipient area.
Precision instruments called implanters are used for the placement of the follicular units in the recipient area.
There are several available implanters, according to the quantity of hairs in each follicular unit (1 to 4 hairs).
For the 1 hair follicular unit, more precise implanters are used and for units with more hairs higher diameter implanters are used. All of them being, however, always under 1mm in diameter.
The follicular units are then implanted one by one in the bald recipient zone, respecting the direction, angle and density distribution patterns of the existing hair in the recipient area. When there is no hair we mimic the natural patterns of the hairs at that specific area. However, even in those areas with no terminal hair, there are always some vellus that can give us a hint of how it used to be in the past.

8. After the procedure
About 80% of the transplanted hairs fall between the third and the sixth week after surgery leaving their roots inside the scalp.
From these roots new hairs will grow. The growth starts 3 to 4 months after the procedure.
Because the transplanted hairs do not contain the genetic code for baldness, they do not have the same tendency to fall, yielding long lasting results.

